
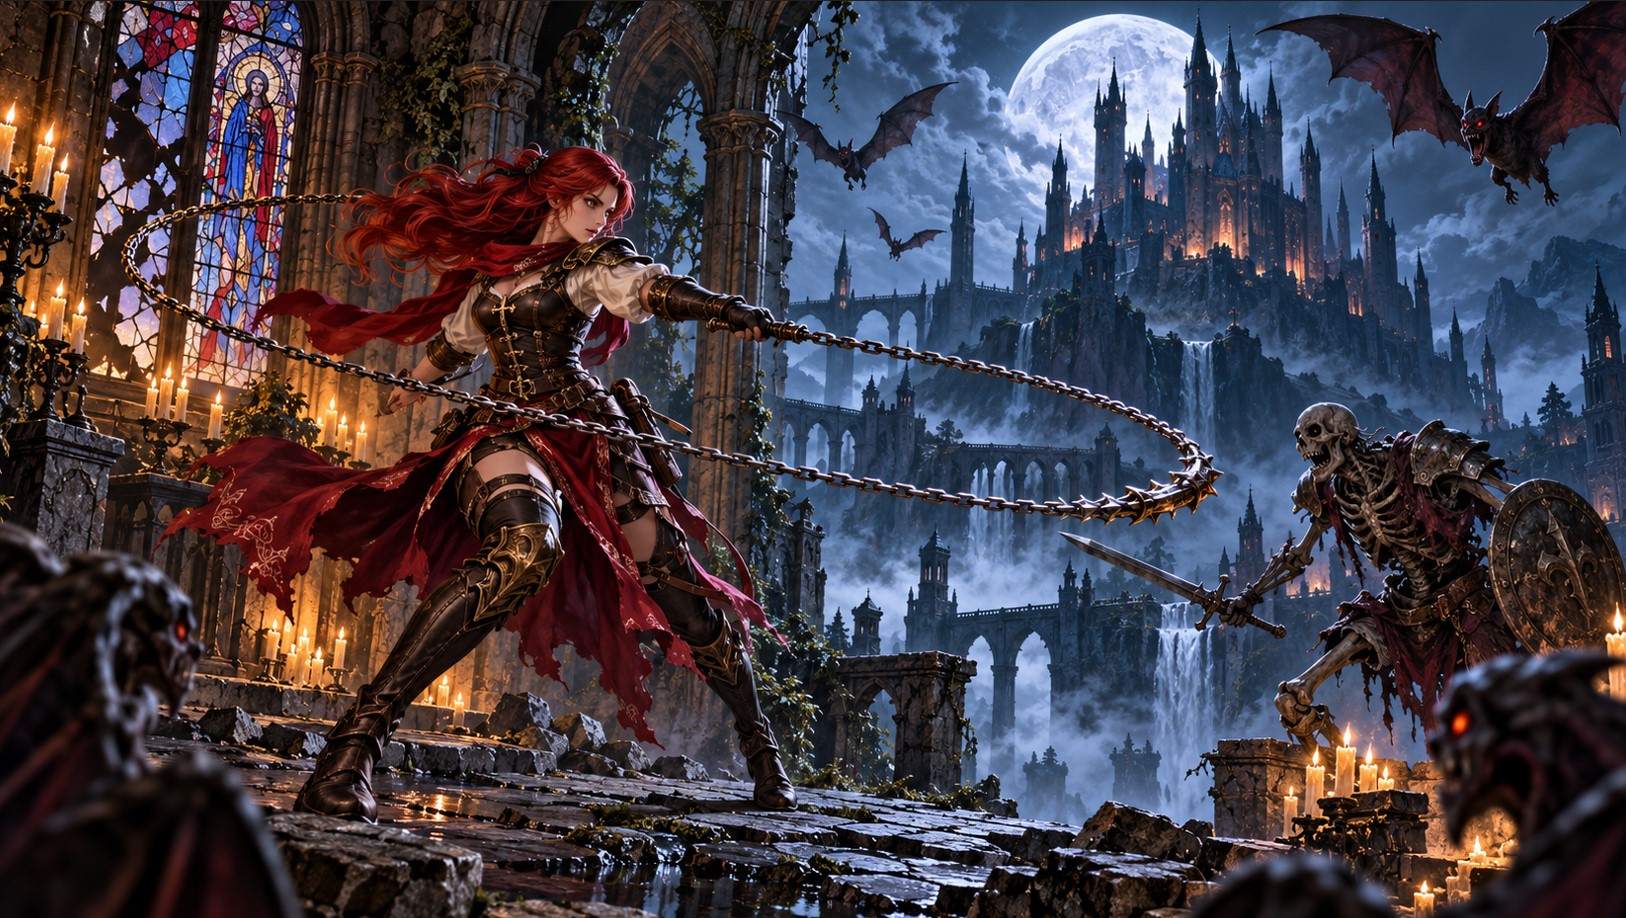
Castlevania Belmont’s Curse Tips: What the Game Gives Freely and What It Rations
It launched today, and the thing that will decide your first ten hours is not reflexes. Belmont’s Curse is extravagantly generous in some places. Twenty-eight weapons across seven categories. A tarot deck that swallows every boss you beat and hands you their powers. A freeform Paris you can tackle in almost any order once it opens up. There is more content pointed at you in the first few hours than most Metroidvanias show in twenty.
And then it quietly rations the things that actually matter. Three relic slots. Three upgrade nodes per Arcana. One set of muscle memory. Finite attention for a map that stops holding your hand around the five-hour mark.
Nearly every avoidable mistake in this game is a misallocation rather than a missed input. So this is a resource audit rather than a walkthrough. Five things the game hands out sparingly, what each one buys, and the specific way people waste it.
| What’s Rationed | How Much You Get | What It Buys |
|---|---|---|
| Relic slots | Three equipped at a time | Passive combat or exploration effects |
| Works of Mercy nodes | Three per Arcana | Upgrade picks for that spell, one of three each time |
| Weapon familiarity | Realistically one or two types | Charged abilities and perk payoffs you actually land |
| Route attention | Finite, and the map opens wide at roughly five hours | Which Arcana you hold next, and when |
| Patience | Yours, not the game’s | Whether you keep playing on a bad night |
Work through those in order and the game gets considerably kinder.
Ration One: Three Relic Slots, and Most People Fill Them Wrong
Relics are passive augments, you hold three at once, and the split that matters is combat versus exploration. They come from trap gauntlets – the game’s hazard rooms, which reviewers consistently describe as the most irritating and most rewarding content in it. So every relic you own represents a gauntlet you already suffered through, which makes people reluctant to bench one.
Bench them anyway. The relic loadout is meant to change by activity, and the two profiles are genuinely different:
- Exploring: lean on utility. The relic that restores health and mana whenever you open a chest is the standout here, because exploration is chest-dense and it effectively removes the resource cost of wandering.
- Boss hunting: swap the chest relic out entirely. There are no chests in a boss arena, so that slot is dead weight at exactly the moment you need damage or survivability.
- Trap gauntlets: build for the hazard, not the fight, since gauntlet damage and combat damage are separate problems and Custom Mode treats them separately too.
- Never run three of the same category. Two combat and one utility covers most of the game; three combat leaves you fragile in traversal.
The habit that separates smooth runs from frustrating ones is simply opening the menu before a boss door. It takes ten seconds and it is the single highest-value ten seconds in the game.
Castlevania Belmont’s Curse Tips for the Works of Mercy Economy
Here is the system that rewards planning more than any other, and the one most players treat as a checklist.
Every boss you defeat gets sealed into Rose’s tarot deck as an Arcana, granting its spells, skills and special actions. It is the structural descendant of the old Tactical Soul system, except the powers are drawn from specific named bosses rather than from a monster catalogue, which makes each one feel authored.
Each Arcana then carries three Works of Mercy – objectives attached to that specific spell. Some are plain, like defeating a set number of enemies with it. The fireball’s early one asks for twenty different enemy types. Others push you toward exploration or experimentation you would not otherwise attempt.
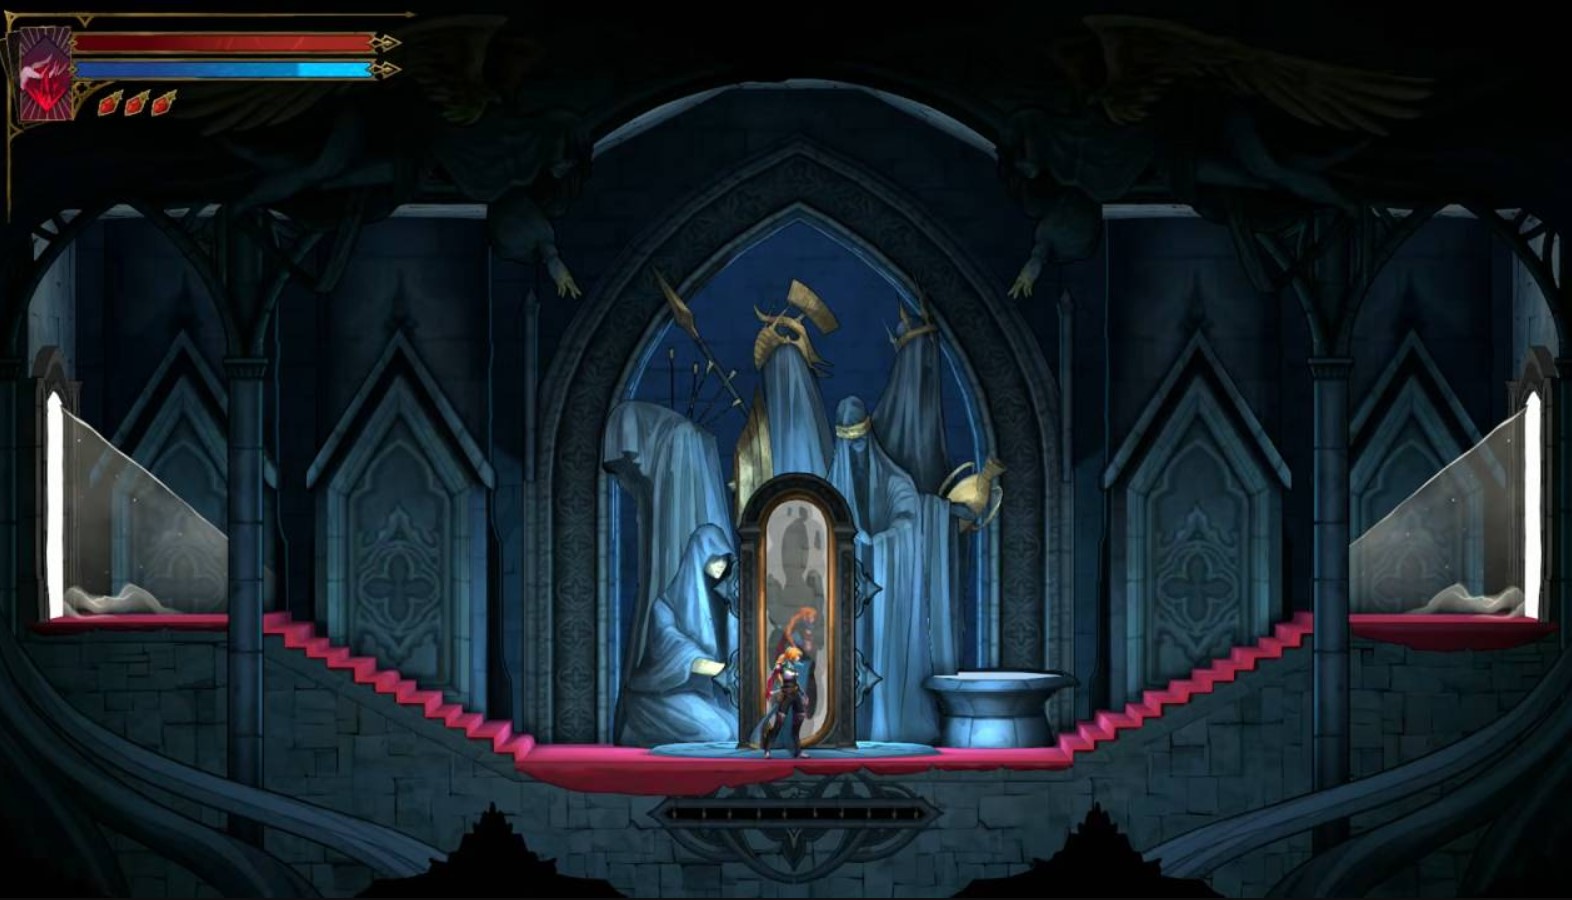
Completing one opens a node, and at each node you pick one of three power-ups for that spell. Finish all three and the Arcana’s character gives you extra dialogue, which is a genuine reward in a game where the absorbed bosses sit in Rose’s mindspace bickering with each other.
The economy point: three nodes is the ceiling, and the choices are not reversible in the moment. So two rules.
First, do not spread Works of Mercy across every Arcana you own. A spell with all three nodes filled outperforms three spells with one node each, because the evolutions change how a spell plays rather than just raising its numbers – one of them has you throwing a second Holy Cross rather than throwing the first one harder.
Second, pick the Work of Mercy that matches what you were going to do anyway. A Work that wants twenty enemy types is free progress during exploration. A Work that wants a specific stunt is a detour. Reading all three before committing to a spell costs nothing and saves hours.
Ration Three: You Only Get One Set of Hands
Seven weapon categories – whips, cestus gauntlets, lances, longswords, greatswords, rapiers and one-handed blades – with four weapons in each. Twenty-eight in total, each category carrying its own moveset, range and charged ability.
That abundance is a trap, because the thing you are actually short of is familiarity.
Weapon tiers exist, but the perks matter more than raw damage, and the perks are conditional in ways that demand practice:
- Longswords grant bonus damage on a backdash into a swing, which is a deliberate two-input rhythm rather than a passive buff.
- Cestus gauntlets scale their damage with consecutive hits, so they reward staying in and punish hit-and-run completely.
- Lances trade speed for reach and can be thrown, which is why multiple reviewers gravitated to them.
- Greatswords are the slow, heavy option, and Joan of Arc’s broadsword reward sits in this space.
Pick one category as your spine and a second as your answer to whatever the first one cannot handle. Rotating through all seven means arriving at every hard boss with a weapon you have not learned the timing for, and the timing is the content.
One clarification worth making, since it disappointed some players: the traditional Castlevania equipment-and-stats layer is largely gone, replaced by trinket and relic systems. Levelling still comes from kills. If you arrived expecting Symphony of the Night’s inventory depth, this is the one place the game is thinner rather than richer.
Ration Four: Attention, and the Five-Hour Cliff
The opening stretch feels fairly guided. Then, at roughly the five-hour mark, Paris opens into multiple paths at once and the game stops steering.
What it gives you instead is the tarot deck itself as a navigation tool. The cards double as mission signposts, environmental puzzles, lore and boss locations – hold an Arcana and it points you toward the others. That is the whole structure, and reviewers have compared the loop of hunting bosses for their powers to Mega Man rather than to a conventional Metroidvania.
Which produces the most useful routing advice available right now: chase the Arcana that opens traversal before the ones that only add damage.
| Boss | What the Arcana Grants | What It Opens Up |
|---|---|---|
| The Fallen | A cross-throwing spell, plus the Arcana Whip | Grapple traversal and pulling Rose toward enemies |
| Joan of Arc | A fire column spell and a stronger broadsword | Holy light that passes through certain walls and floors, and parries attacks |
| Medusa | A petrifying gaze spell, plus a sword and shield | Crowd control that makes trap-and-enemy rooms survivable |
Read that table as a priority list rather than a bestiary. The Fallen lives in the Parisian sewers and hands over the grapple, which is the single largest expansion of where you can go. Joan’s holy light passes through specific walls and floors, which is the second. Medusa’s gaze is excellent, and it opens nothing, so she can wait if you are short on time.
Returning faces include Death and Carmilla alongside Medusa. Joan of Arc and The Fallen are new, and Joan being folded into the Castlevania mythology as an absorbable Arcana is the sort of swing the series has not taken in a while.
The non-linear structure also means detours are a legitimate tactic. A boss that is beating you now may simply be the wrong boss for your current deck, and there is usually another one findable in a different direction.
Ration Five: The Parry Is the Whole Game
A short section, because it is the most important mechanical point in the article.
The holy shield parry arrives from the second boss, and the detail that changes everything is that it works alongside your regular attacks. You are not swapping into a defensive stance. You can swing and parry inside the same moment, which means the correct answer to an incoming attack is frequently to keep attacking through it.
Players arriving from Dead Cells – and Evil Empire’s fingerprints are all over the movement here – tend to treat defence as dodge-rolling and separation. This game wants you closer than that. The cestus perk scaling with consecutive hits only makes sense once you accept that standing in the fight is the intended posture.
One honest caveat from reviews: on screens crowded with simultaneous enemy attacks, the parry window can become hard to read. It is reported as rare rather than systemic, but if a particular room feels unfair, that is a known rough edge rather than you misunderstanding the system.
Castlevania Belmont’s Curse Tips Nobody Gives You About Custom Mode
Now the part people are weirdly ashamed of, and shouldn’t be. Custom Mode is a set of modifiers you can toggle freely at any point, and the options are specific rather than a blunt easy setting:
- A checkpoint placed before boss doors, which removes the runback entirely.
- A damage boost for Rose, scaling your output rather than lowering enemy aggression.
- Reduced trap damage, separate from combat damage, which targets the gauntlets precisely.
- Adjusted incoming damage, respawn behaviour and health flask capacity.
The reason to care: you keep the experience you earn on boss runbacks regardless. So the runback is not a tax that teaches you anything – it is time. Switching on the pre-boss checkpoint converts a frustrating evening into a productive one and costs you nothing the game values.
My read is that the modifiers being freely toggleable is a deliberate statement. The difficulty is described as challenging but fair, with mistakes landing squarely on the player, and a game confident in that framing can afford to hand you dials. Reach for the trap-damage slider during a gauntlet, switch it off afterwards, and stop treating the menu as an admission.
Note what Custom Mode does not do: it adds no extra navigation aids. Getting lost is not something you can toggle away, which is why the Arcana-first routing above matters.
Launch Day Housekeeping
Facts worth knowing today rather than next week.
- It is the 26th main entry and the first new console Castlevania since 2014, arriving for the series’ 40th anniversary.
- Developed by Evil Empire under licence from Konami, with Motion Twin advising, produced by Tsutomu Taniguchi and written by Matthew Willis.
- Standard Edition is $29.99; the Midnight Edition at $39.99 adds a Sound and Art Gallery with 71 tracks, Trevor Style and Sypha Style costumes for Rose, and the Family’s Grace relic.
- Early purchases also get an Alucard Style costume, and some retailers are carrying physical Midnight Editions with a SteelBook or a tarot card.
- The demo has been live since October 1 and its save carries into the full game on the same platform and account, so do not start over if you played it.
- Platform caveat: PS5, Xbox Series X|S and PC are confirmed today, while reporting disagrees on whether the Switch version is same-day or arriving later this year – check your own store before buying.
Review reception has been strong, with GameSpot scoring it 10 and calling it essential, and other outlets landing in the nines. One reviewer reported about twenty hours in with bosses still unfound, which gives you a rough sense of scale without anyone having published a completion time yet.
FAQ
What should you prioritise first in Belmont’s Curse?
The Arcana that expand where you can go. The Fallen grants the Arcana Whip grapple and Joan of Arc grants holy light that passes through certain walls and floors, both of which open more map than any damage upgrade.
How many relics can you equip?
Three at once. They are passive, they cover combat and exploration effects, and they come from clearing trap gauntlets.
What are Works of Mercy?
Objectives attached to each Arcana, three per card. Completing one opens a node where you pick one of three upgrades for that spell, and finishing all three earns extra dialogue from that Arcana’s character.
Should you spread upgrades across every spell?
No. A fully upgraded Arcana changes how its spell behaves rather than just raising numbers, so concentrating three nodes on one spell beats one node on three.
Is Custom Mode cheating?
It is a toggleable set of modifiers including a pre-boss checkpoint, a damage boost and reduced trap damage, and you keep the experience earned on runbacks either way. Switch it on for the section that is bothering you and off afterwards.
How many weapons are there?
Seven categories – whips, cestus gauntlets, lances, longswords, greatswords, rapiers and one-handed blades – with four weapons each, and perks that matter more than tier.
Does the demo save carry over?
Yes, on the same platform and account, provided you keep the demo save.
Spend Narrow, Explore Wide
The design philosophy underneath all five rations is the same one, and once you notice it the game reads clearly.
Belmont’s Curse is generous with possibility and strict with commitment. It will show you twenty-eight weapons and then quietly reward you for learning two. It will fill your deck with Arcana and then cap each one at three upgrade nodes. It will open all of Paris and then give you exactly three relic slots to cross it with.
That is not stinginess. It is the game asking you to have a build rather than a collection, which is also why the tarot framing works so well – a spread is a few specific cards pulled from a large deck, and the meaning comes from which ones you are holding.
So: two weapon categories, not seven. One Arcana fully upgraded before you start the next. Relics swapped at the boss door. The grapple and the holy light before anything that only hits harder. And the trap-damage slider dropped without ceremony on the gauntlet that is ruining your evening.
Forty years in, somebody finally made the whip a grappling hook and built a city worth swinging across. Go and be deliberate in it.
If this stopped you spreading three upgrade nodes across six spells before the map even opened, pass it along on X, Reddit or whichever thread is already arguing about the cestus – small writing teams travel by word of mouth and nothing else. Bookmark it as well, since the full Arcana roster is still being mapped by players on day one and we revise this page rather than filing a fresh one as the deck fills in. And if creative or commercial collaboration brought you here, write to the BandurArt team directly – our card is always face up.